Ingenico iPP350 RAM (UK) - Setup and User Guide
- Jory Banks (Deactivated)
- Colton Foremaster (Deactivated)
- Andrew Rogers (Deactivated)
System Requirements
- Must use a PC or Mac running Windows operating system (Windows 7 or later). Cannot be used with macOS.
- Terminal must be connected using USB.
- This installation allows users to process cards using the iPP350 in Chrome, Firefox, Internet Explorer, and Edge browsers. Additional steps required for Firefox setup.
Page Contents
Step 1: Send the Terminal Serial Number to CMS Support
Step 2: Installation Instructions
Step 3: Connecting the Terminal to the Plug-in
For assistance with troubleshooting, please contact CMS Support:
CMS Support
801.623.4000 Option 2
Click any image for a larger view.

Step 1: Send the Terminal Serial Number to CMS Support |
|---|
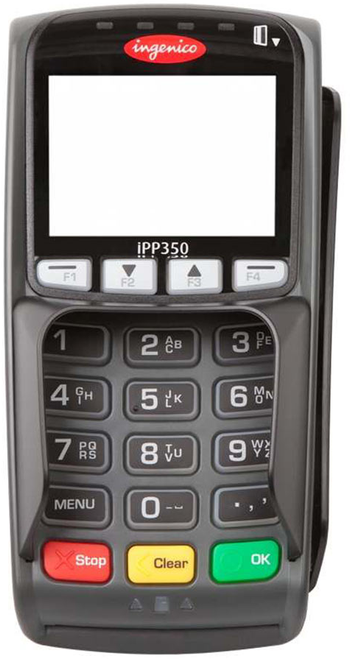
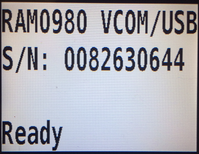
The serial number for the terminal must be linked to the processing key by CMS support before the terminal can be connected and used. Locate the serial number by plugging in the terminal and allowing it to boot up.
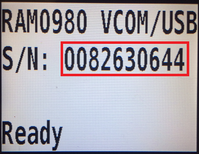
Once the ready screen (shown above) is displayed, send the serial number shown to CMS support at support@cmsonline.com with the following information in the email:
Merchant account number:
Business name:
Store number (if applicable):
Device name: iPP350 RAM
Serial Number (including zeros): (ex. 0012345678)
Within one business day, CMS support will reply via email once the key has been configured. The terminal will be ready for use after completing the setup.
Step 2: Installation Instructions |
|---|
Download and Install
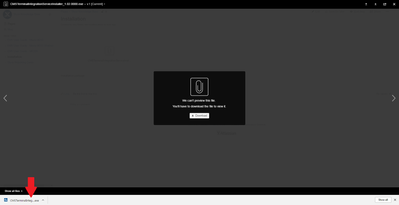
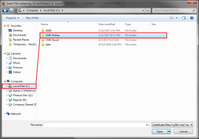
- Click to download and run the installation package found here: CMSTerminalIntegrationServiceInstallerV2_1.08.7000.exe
- Open and run the downloaded file. The file can be opened from the browser window or in the Downloads folder.
Note: If you encounter the following message: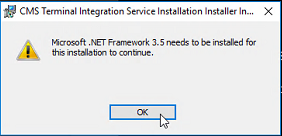
please click the following link to download .NET Framework 3.5 which will be required.
https://www.microsoft.com/en-us/download/details.aspx?id=21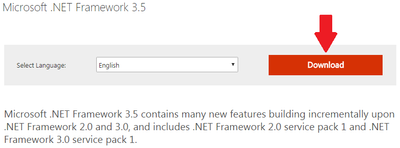
- Follow the instructions in the file to complete the installation.
Chrome:
Firefox:


Importing Certificate into Firefox
If you are planning to use Firefox, follow these additional steps:
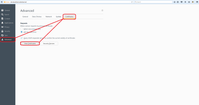
- In the Firefox settings menu, click on Options.
- In the Advanced menu, click Certificates. Then click View Certificates. (In newer Firefox versions, click Privacy & Security, scroll down to Security, and click View Certificates).
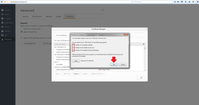
- Click on Authorities and click Import.
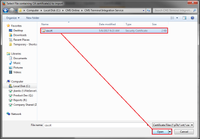
- Select the ca.crt in the CMS Terminal Integration Service folder and click Open.
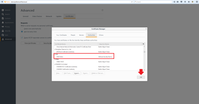
- Check the boxes to trust the certificate and click OK.
- Once imported, click OK to finish.


Step 3: Connecting the Terminal to the Plug-in |
|---|
After completing the installation, follow the steps below to connect the terminal to the plug-in:
- Plug in the terminal to the computer through a functioning USB port. The display will show the following:
- Clear the browser cookies. For instructions on clearing cookies, use the following:
- Chrome: https://support.google.com/accounts/answer/32050?co=GENIE.Platform%3DDesktop&hl=en
- Firefox: https://support.mozilla.org/en-US/kb/delete-cookies-remove-info-websites-stored under section titled "Delete all cookies"
- Internet Explorer: https://kb.wisc.edu/helpdesk/page.php?id=12314
- Edge: http://www.thewindowsclub.com/delete-browsing-history-cookies-data-edge
- Close and reopen the browser.
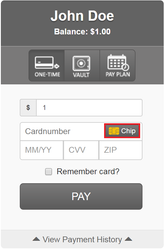
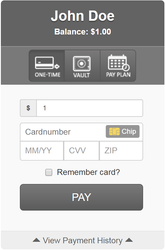
- In the point-of-sale, load the payment plug-in.
- Click the Chip button and enter the port number being used by the terminal. This can be found using the instructions here:
a. Search for and open the Device Manager in the Windows Start menu.
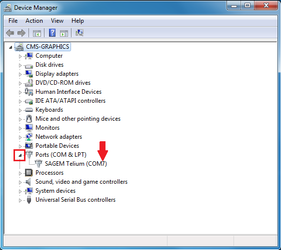
b. Click the small arrow next to Ports (COM & LPT) and note the number after 'COM' as shown below. Type this number into the 'Enter Port Number' field in the plug-in (number only-do not include 'COM') and click Save Port.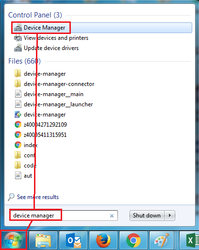

- After several seconds, the terminal display should change to the following:
- Wait several seconds for the Chip button on the payment screen to again become dark and clickable. All connections after the first should be immediate.
- Continue processing a transaction following instructions in the section below: Processing Transactions
Processing Transactions |
|---|
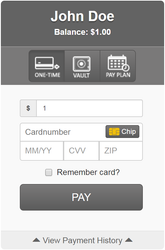
Run card transactions by swiping, dipping (EMV/Chip), or keying in card information.
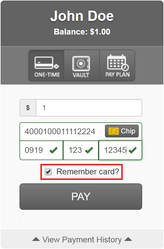
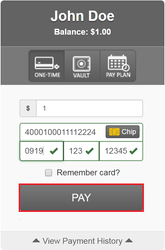
Manual/key entry
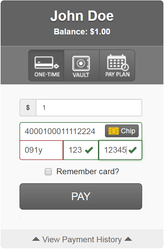
- Enter the card information. Fields will display a green check for valid entries. Fields will be highlighted in red for invalid entries.
- Check "Remember Card?" to save the card to the customer vault for future one-time or recurring payments. The 'Remember Card' feature is for keyed-in transactions only and cannot be used for swiped or chip transactions on the terminal.
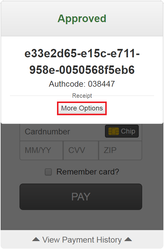
- Click PAY to process a transaction.
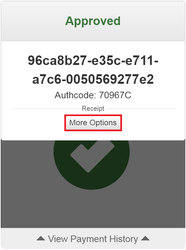
- Click More Options to print or email the receipt.

EMV/Chip
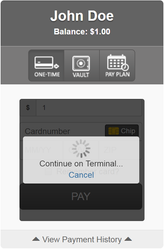
- Click Chip
- Continue transaction by following prompts on the terminal (insert card or swipe).
- Click More Options to print or email the receipt.