Miura M010 - Setup and User Guide
- Jory Banks (Deactivated)
- Colton Foremaster (Deactivated)
- Andrew Rogers (Deactivated)
System Requirements
- Must use a PC or Mac running Windows operating system (Windows 7 or later). Cannot be used with Mac OS.
- Terminal must be connected using USB. Cannot connect to PC using bluetooth.
- This installation allows users to process cards using the Miura M010 in Chrome, Firefox, Internet Explorer, and Edge browsers. Additional steps required for Firefox setup.
Page Contents
Step 1: Installation Instructions
Step 2: Connecting the Terminal to the Plug-in
For assistance with troubleshooting, please refer to the link below or contact CMS Support
Online FAQ and Troubleshooting Guide:
Miura M010 - FAQ and Troubleshooting
CMS Support
801.623.4000 option 2
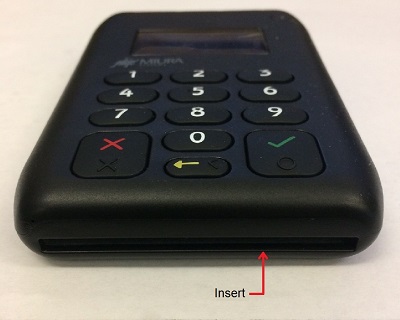
Buttons/Functions
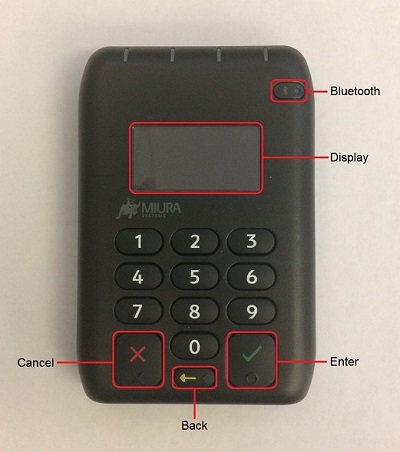
Click any image for a larger view.

Step 1: Installation Instructions |
|---|
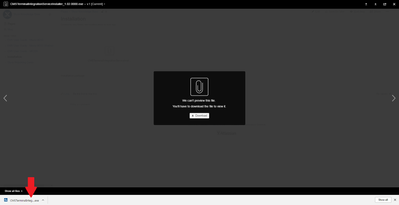
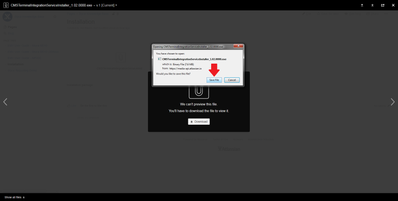
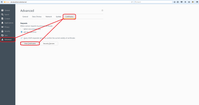
Download and Install
Click to download and run the installation package found here:CMSTerminalIntegrationServiceInstallerV2_1.08.7000.exe
Chrome:
Firefox:

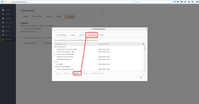
Importing Certificate into Firefox
If you are planning to use Firefox, follow these additional steps:
- In the Firefox settings menu, click on Options.
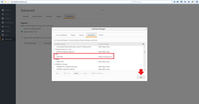
- In the Advanced menu, click Certificates. Then click View Certificates.
- Click on Authorities and click Import.
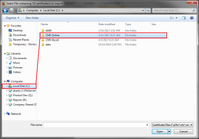
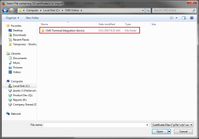
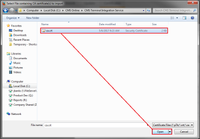
- Select the ca.crt in the CMS Terminal Integration Service folder and click Open.
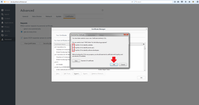
- Check the boxes to trust the certificate and click OK.
- Once imported, click OK to finish.

Step 2: Connecting the Terminal to the Plug-in |
|---|
After completing the installation, follow the steps below to connect the terminal to the plug-in:
- Clear the browser cookies. For instructions on clearing cookies, use the following:
- Chrome: https://support.google.com/accounts/answer/32050?co=GENIE.Platform%3DDesktop&hl=en
- Firefox: https://support.mozilla.org/en-US/kb/delete-cookies-remove-info-websites-stored under section titled "Delete all cookies"
- Internet Explorer: https://kb.wisc.edu/helpdesk/page.php?id=12314
- Edge: http://www.thewindowsclub.com/delete-browsing-history-cookies-data-edge
- Close and reopen the browser.
- In the point-of-sale, load the payment plug-in. Wait for the connection to be established. The first connection can take up to a minute. If the Chip button does not change within a minute, click the following link for troubleshooting instructions: Miura M010 - FAQ and Troubleshooting#FAQandTroubleshooting-chipgrayedout
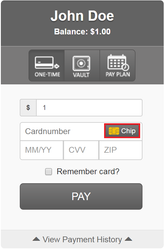
- Once connected, the Chip button on the payment screen will become dark and clickable.
Not Connected Connected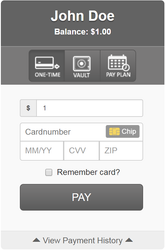
- Continue processing a transaction following instructions in the section below: Processing Transactions
Processing Transactions |
|---|
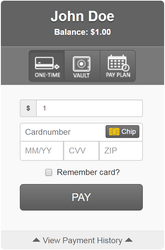
Processing Transactions in the Plug-in
Run card transactions by swiping, dipping (EMV/Chip), or keying in card information.
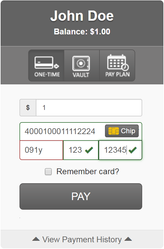
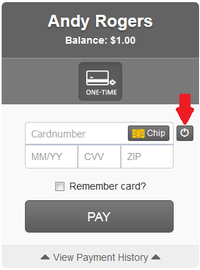
Manual/key entry
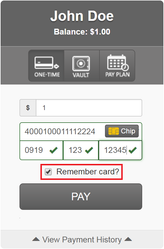
- Enter the card information. Fields will display a green check for valid entries. Fields will be highlighted in red for invalid entries.
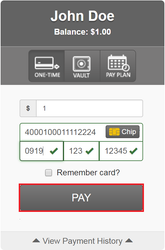
- Check "Remember Card?" to save the card to the customer vault for future one-time or recurring payments.
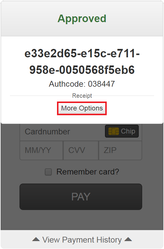
- Click PAY to process a transaction.
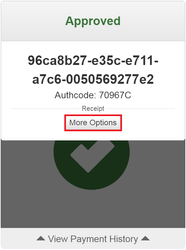
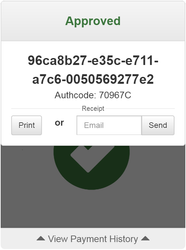
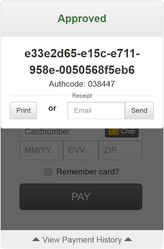
- Click More Options to print or email the receipt.
EMV/Chip
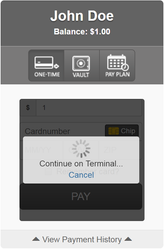
- Click Chip
- Continue transaction by following prompts on the terminal (insert card or swipe).
- Click More Options to print or email the receipt.
Using Multiple Terminals With One Key
If the Slyce key is set up to have multiple terminals connected, follow the instructions below:
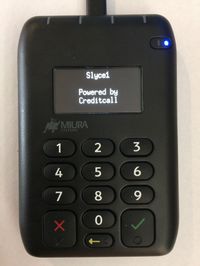
- Plug in the terminal to be used.
- Load the plug-in.
- You will be prompted to select the serial number from the back of the terminal in the displayed dropdown. Note that the serial number in the dropdown will not include the preceding "0" or the dash "-".
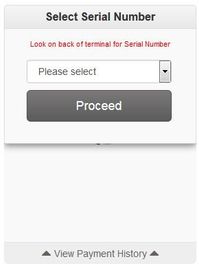

- Click Proceed. The terminal should be ready to use within a few seconds once this screen is shown:
If using a different terminal with the same computer, use the button pictured here to disconnect the current terminal and connect a different terminal. Note that unpairing the device will clear the browser cookies.
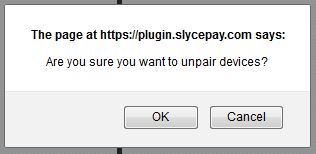
Once the terminal is unpaired, the user will again be prompted to select a serial number. After selecting the serial number, you may need to close and reopen Slyce plug-in to get the terminal to connect.